I thought I'd get back to it with an easy one, a kid's t-shirt.
I made this one up for my daughter Emi in a size 2. She's months away from turning 2, but I have found that some brands size 2 fit her perfectly, others can be quite big.
So please check the flat measurements of this t-shirt against a t-shirt that fits your kids well, before deciding on a size.
I'm a sucker for a navy and white stripe, so I had a couple of remnants that I used for these tees.
When cutting a stripe, make sure you match the stripe at side seams. This usually takes up more fabric in adult sizes, but not so much in kids.
1. Overlock the shoulder seams together.

3. Once the sleeves are stitched on, pin the side seams from hem all the way through to sleeve hem.
If you're working with s stripe like me, make sure you line up the stripes.
Overlock seams. At this point I overlock the hem and sleeve hems.
The jersey I used has some elastane thought it so it usually curls at the cut edges toward the right side. On a side note, if you're not sure which side of a jersey is the right/face side, look which way it curls. If it doesn't curl, stretch it along the cut edge to make it curl. Should be curling toward the right/face side.
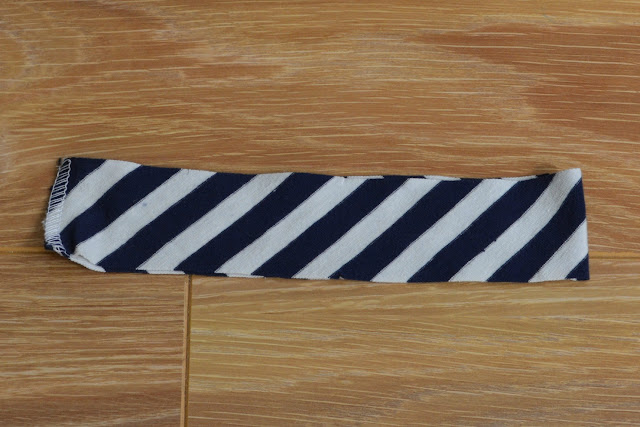
4. Fold the Neck band matching the nicks. I cut mine on the bias as I like that look on striped tops. The band can be cut on either bias or straight grain.
5. I usually use a plain stitch machine to sew on the neck band, stretching it on from nick to nick.
Then I go over the seam with my overlocker. I also like to flat stitch the seam down about 1/8" or
2 mm from the neck seam. It keeps the seam from looking messy after washing. If you are going to stitch it down, make sure to stretch as you sew to prevent the stitching from breaking when the neck is stretched.
6. Finish the hems, I was too lazy to re-thread my coverstich machine so I just plain stitched, stretching slightly to prevent the stitching breaking during wear.
Here are the PDF Patterns.
SIZE 2
SIZE 3
SIZE 4
You might like to download the TEST PAGE to test the size settings on your printer.
Simply print and measure the 1 inch square to make sure you'll get an accurate pattern.


The article has a beneficiary content.Thanks for Sharing!. Read our blog for :
ReplyDeleteKid’s t-shirt